Imagine yourself sitting over your desk, coffee in hand, eyes riveted at the computer screen. On it files are open in the dozen. You feel overwhelmed and exhausted and think to yourself: “How on EARTH am I going to transform all of this into instructionally sound learning content?”
We have all been there. As a junior e-learning developer, there is a long and arduous road ahead of us, paved with countless pitfalls and plenty of ups and downs - not to mention the sleepless nights. Failure and new starts are common to our trade, in the end however, it is all worth it. As you look at the final product of your efforts, with all its functions in place and top notch graphics to boot, you will know that all your hard work has not been in vain.
At this point, you might be wondering of course: how do I get to where I can confidently carry out an e-learning project? And just as importantly, how long is the journey?
Well, the fact of the matter is that this will most definitely not happen overnight. With the right approach and patience however, you may save yourself a lot of trouble.
So without further ado, let’s dive into our first topic in this series of blog posts, and take a closer look at the e-learning development process.
STEP 1. Planning
Before you can even think about positioning your first “click next to continue” button, there are quite a few things you have to take care of first. After all, creating e-learning content is just as much a project as, say, building a theme park ride, and as such requires a lot of upfront planning and preparation.
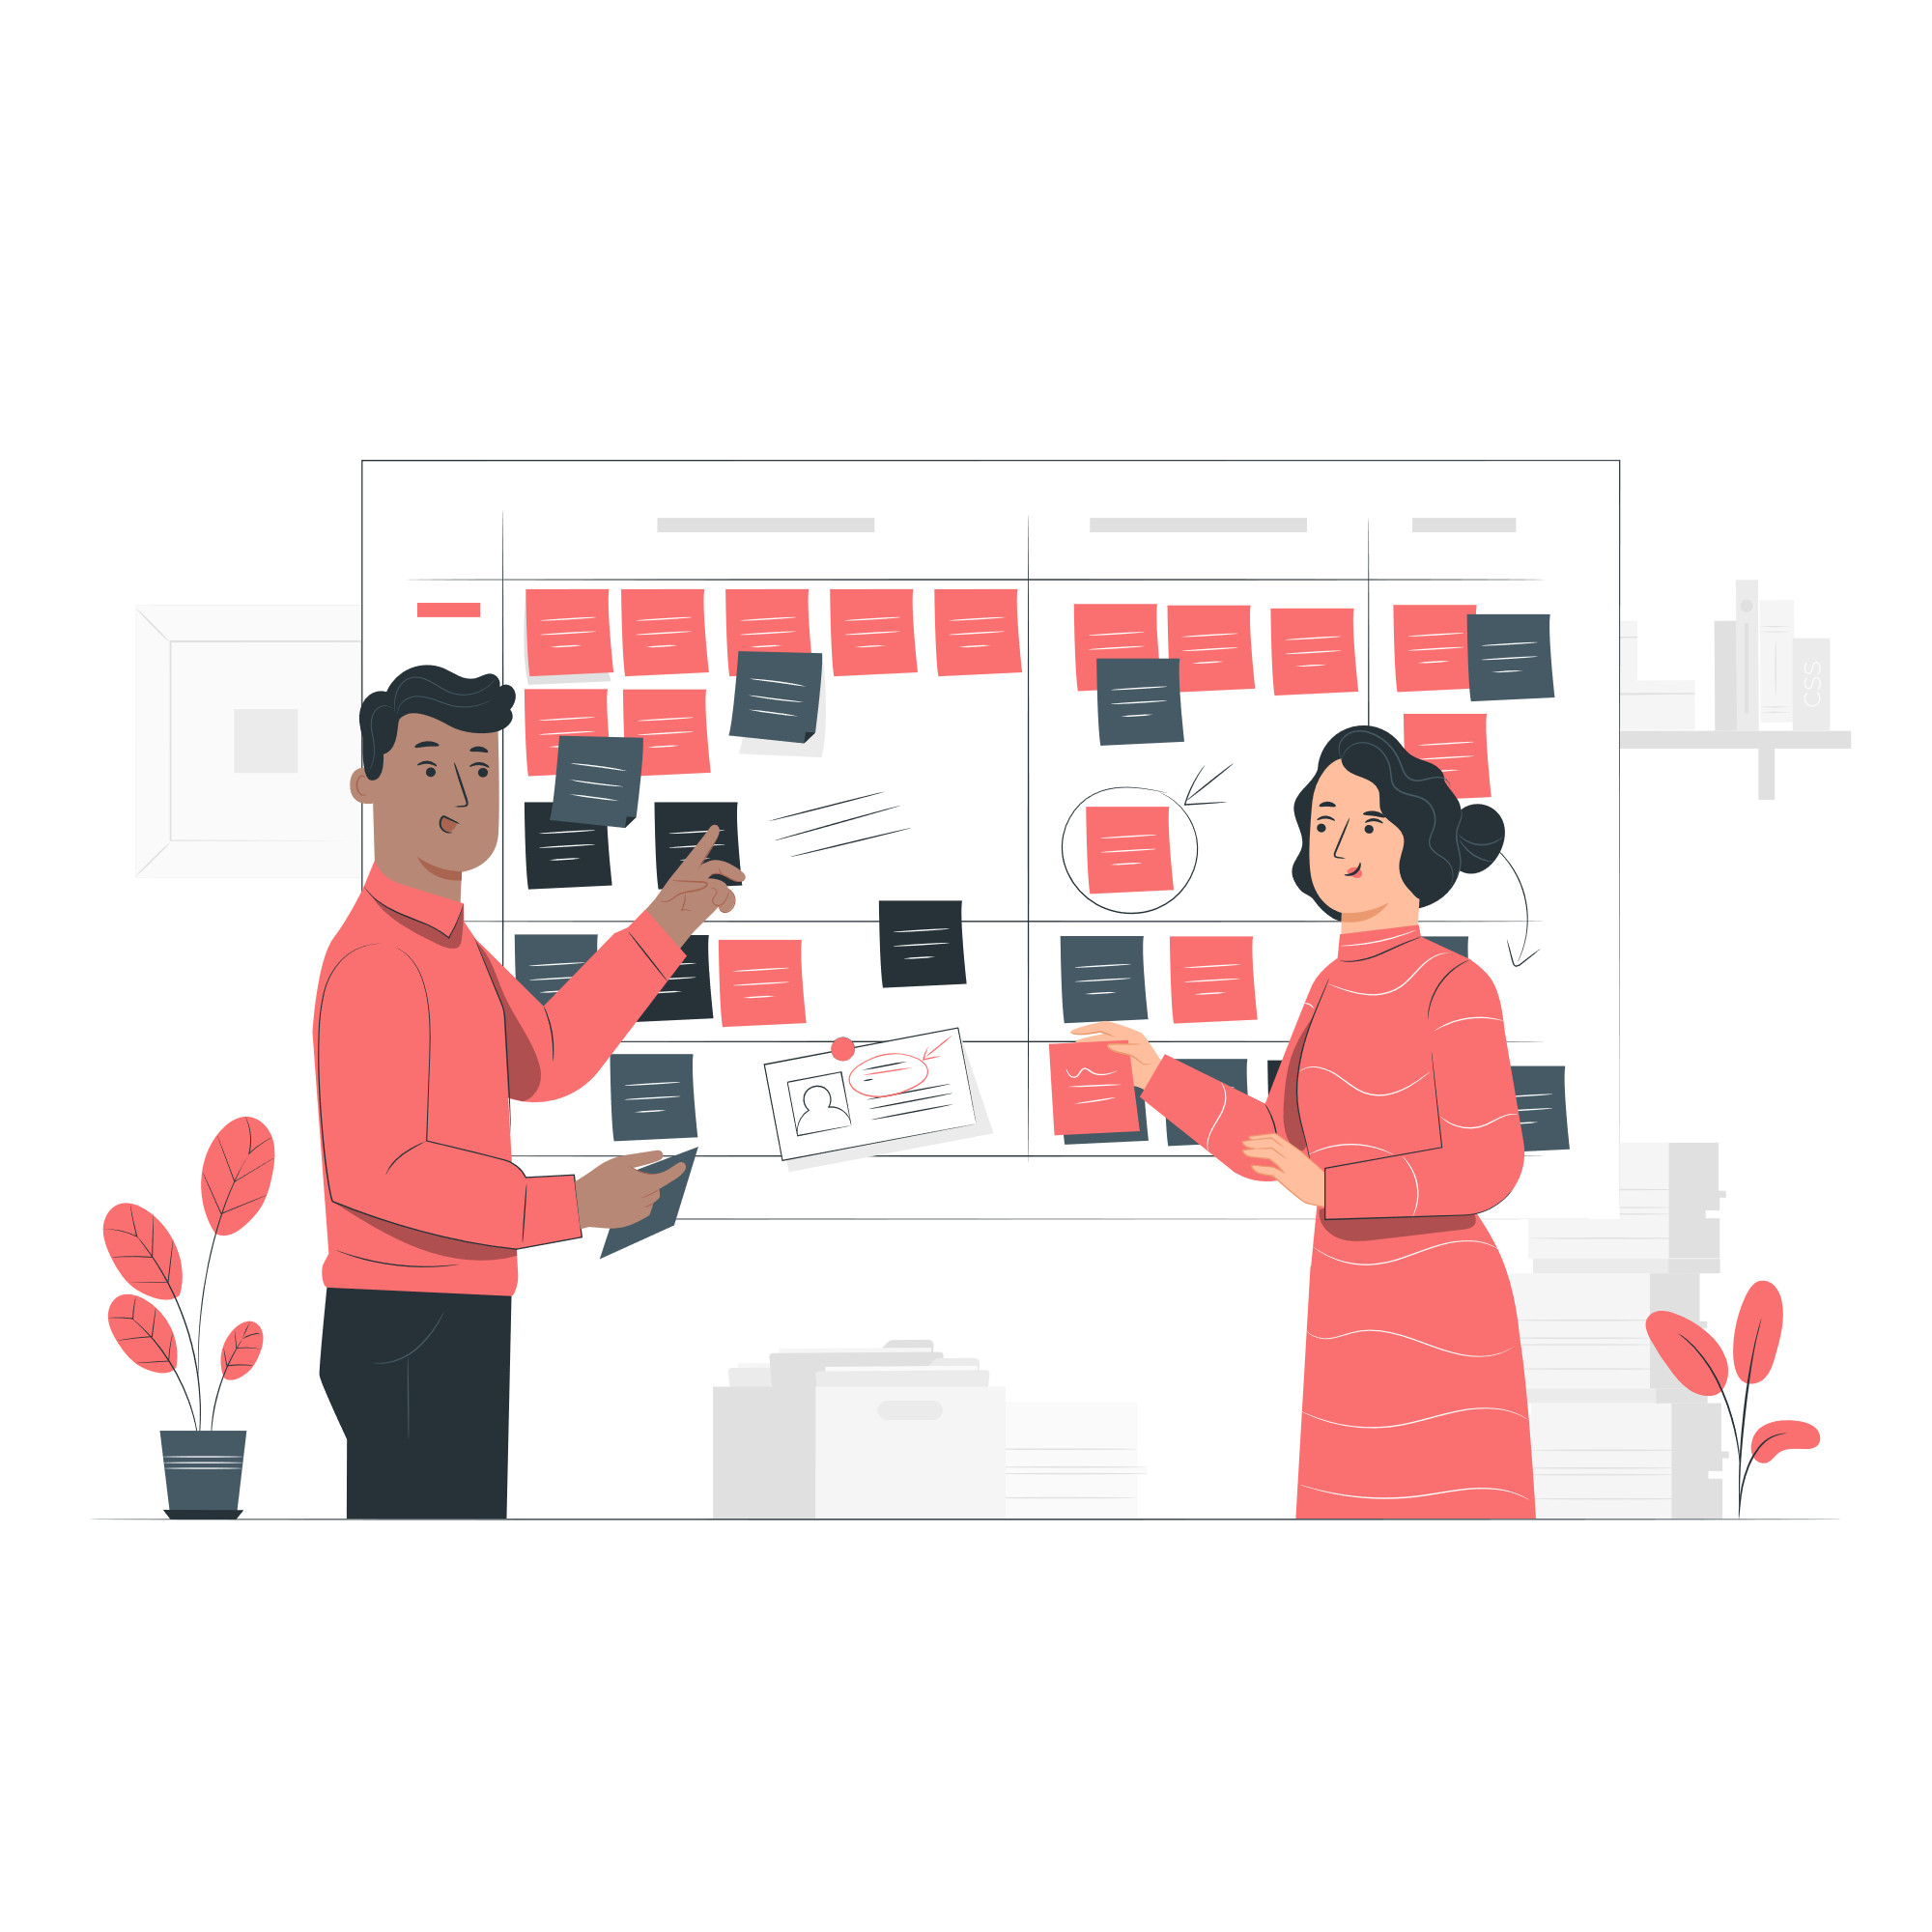
So with this in mind, be prepared to spend much of your time in these early stages of the project in calls with subject matter experts and other stakeholders, trying to agree specifications, deadlines and budget. Questions regarding learning goals and objectives, along with the overall approach to course design will all be addressed throughout this stage, which can last anything from a week to a few months, depending on project scope. However long it may take, be sure to ask all your questions so as to avoid any misunderstandings during the next to stages. Trust us: that one more round of clarifications will pay off dearly in the long run, even if it costs you an extra week.
Neting pro tip:
During the planning stage one of your primary tasks is to find out what the knowledge gap is that keeps employees from performing at their best. Quite often however it turns out that there is none! By way of example, let’s say your client wants you to design learning content to break employees’ resistance towards a new system. You do your due diligence and find that the issue is not about not understanding, rather the system is flawed and employees are right in not wanting to adapt. In such a case, no amount of learning will fix the problem and we should be wary of this. Otherwise, we are looking at a lot of time, effort and money wasted on something that could have easily been avoided, had we done our job the first time round.
STEP 2. Instructional design
Next up on our to-do list is a little something called instructional design. That’s right, you don’t just jump headfirst into developing the course, even though you may already have some ideas on how it will all turn out in the end.
So what do we mean by instructional design? Simply put, instructional design is about collecting and organising specific learning content and deciding how to present it to the learner. This involves a number of activities, most importantly storyboarding and scripting.
Storyboarding is when we outline each of our scenes in terms of interactions, visuals and general flow of the content. Essentially, what a good storyboard does is that it creates a narrative frame around the content, with real-life scenarios, meaningful interactions and characters to accompany the learner on their learning journey. Scripting, or script-writing on the other hand focuses on the textual elements that appear on-screen or in the narration.
Neting pro tip:
“Here’s the pdf we mentioned. Could you put the whole thing up online and make it nicer?” - this is something that you will hear a LOT if you decide to stick around in the world of online education. What’s more, clients will very often insist that you don’t change anything in the original wording of the text that they hand over to you. Not even a single word! Now, imagine your learners with their hopes up after seeing your well-designed opening page, only to be disappointed by yet another online course with dense paragraphs full of legal jargon… As you may have guessed, not much good will come out of a request like this. It totally misses the point of instructional design and assumes the source material to be almighty, whereas in reality content should always be negotiated and not prescribed. In other words, it is our responsibility as learning experts to step in if we feel that the content doesn’t align with the goals of the training. This is of course a hard pill to swallow for SMEs, who have invested an immense amount of time in writing the source material and most likely know it by heart; still, if they care about what’s best for the learners, they will comply.
STEP 3. Development
And now it’s time for the fun part! After so many weeks of “trying to get it right”, you can finally open your authoring software and bring your storyboard to life. Remember however, your final product will most likely not be a one-to-one rendition of your original concept, since, more often than not, things that look good on paper (or PPT) don’t necessarily translate well to other outputs. As such, you will have to do a lot of tweaking and fine tuning before the big payoff.
Neting pro tip:
Always start with a prototype. Why? Stakeholders are rarely learning experts, and many of them haven’t even seen good elearning before. Therefore, it is difficult for them to imagine how things will come together in the final product, no matter how detailed your storyboard is. To allay concerns, just choose a couple of scenes and interactions to demo to your stakeholders.
STEP 4. REVIEW
Although for simplicity’s sake we named this stage “Review”, we by no means wish to suggest that reviewing content is a one-off activity, occasioned by the sign-off of the e-learning courseware. Far from it! As we have said elsewhere, developing e-learning is a collaborative endeavour between service provider and stakeholders, and with that comes the inherent requirement for feedback to be ongoing throughout the entire development.
What then separates this stage from your run-of-the-mill comments is the fact that here we, along with the client, go through the ENTIRE content to test whether everything works as intended and that there are no critical bugs. Although at this point - especially if we followed the stages outlined above - no major changes are to be expected, we should still try our best to accommodate minor cosmetic or functional fixes.
Neting pro tip:
If you work with huge organisations, be prepared! Review rounds can drag on for quite a bit. What you should never do in such a case is give into the temptation of asking for partial feedback; that is feedback from only a few select individuals and not the entire project team on the client’s side. You ignoring this simple rule will only lead to conflicting feedback once all the comments are in. Then you will have to sort out which comments to address and which ones to ignore. Hence, a better solution is to wait it out until everybody is available to give feedback on your work at the same time and with consideration to each other’s comments.
STEP 5. COURSE DELIVERY
Once we are done with all of the above, the only thing left is to publish the e-learning course on the client’s Learning Management System (LMS). A few more tweaks here and there, and with that, our work is finished. At least for the time being. As you will see, it is quite common in the e-learning industry to revisit old courses whenever there is a major update to the content or the client wishes to liven up material by adding new features. These however usually fall under a new service agreement if not specified otherwise in the contact.
This then brings us to the end of this brief overview of our e-learning development process. Of course, there is much more to creating online learning content than this, so keep an eye out for our upcoming posts on each of the individual stages for more best practices and insights into the world of e-learning. Thanks for sticking around and see you next time!

